Raspberry Pi 2 and Windows IoT Core: Getting Started with Blinky
I finally busted out my Raspberry Pi 2. It’s been sitting on a shelf for far, far too long. I purchased an Azure IoT starter kit many moons ago thinking I would have the time to tinker with it but up until this point, embarrassingly, I haven’t found the time.
But today, that all changed. Today, I wired my Raspberry Pi 2, configured it for remote debugging, deployed and debugging the Blinky sample using Visual Studio 2015. Below is a guide on how to get started.
I followed the guidance provided by Microsoft to set everything up. I couldn’t find the MicroSD card that already had Windows IoT core installed on it (which was included in the package) so I went to Raspberry Pi site and pulled down NOOBS.
After you have NOOBS downloaded and installed, Microsoft has a nice guide on where to go from there. The version I installed was the Windows 10 IoT Core RTM release (10.0.10586). Keeping it simple.
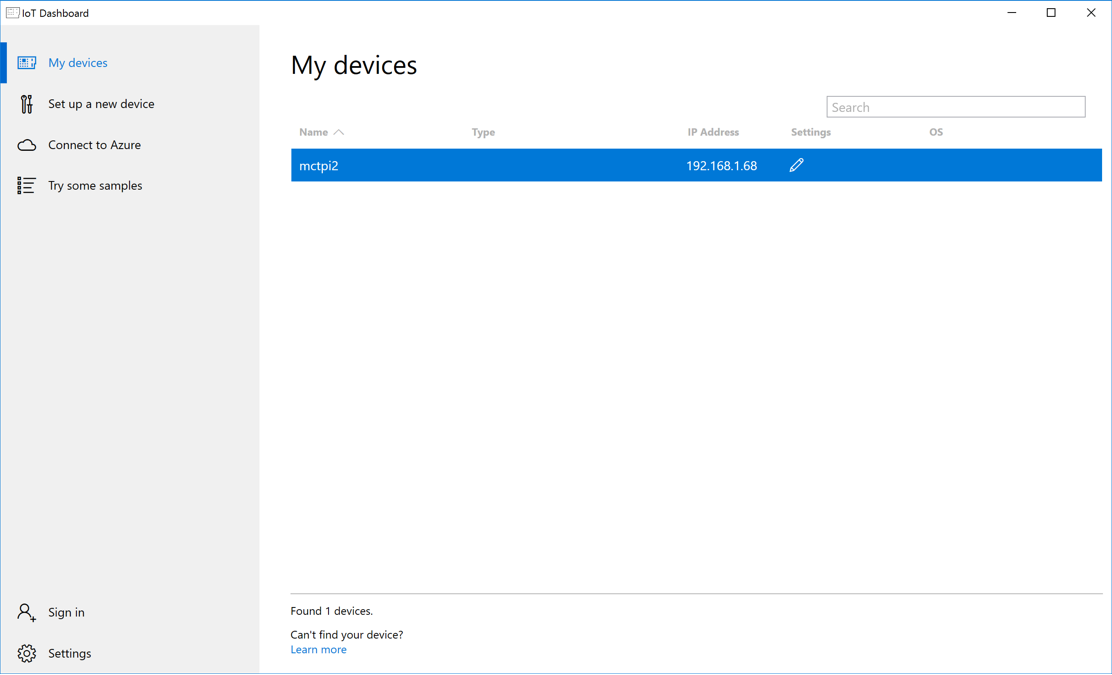
When my Raspberry Pi booted up with Windows IoT Core, I had it connected to my workshop’s primary display. One thing that will become blaringly obvious when you first boot a device with Windows IoT Core for the first time is there is no shell. No Windows Explorer. No Start Menu. No, not even a start screen. All you get is an app that basically displays system information. You’ll see device name, OS version, IP address. Just the basics.
You can use the Windows IoT Dashboard application to do some basic configuration of your devices. It’s not insanely useful but it does give you some piece of mind that your device is up and running (with network connectivity).
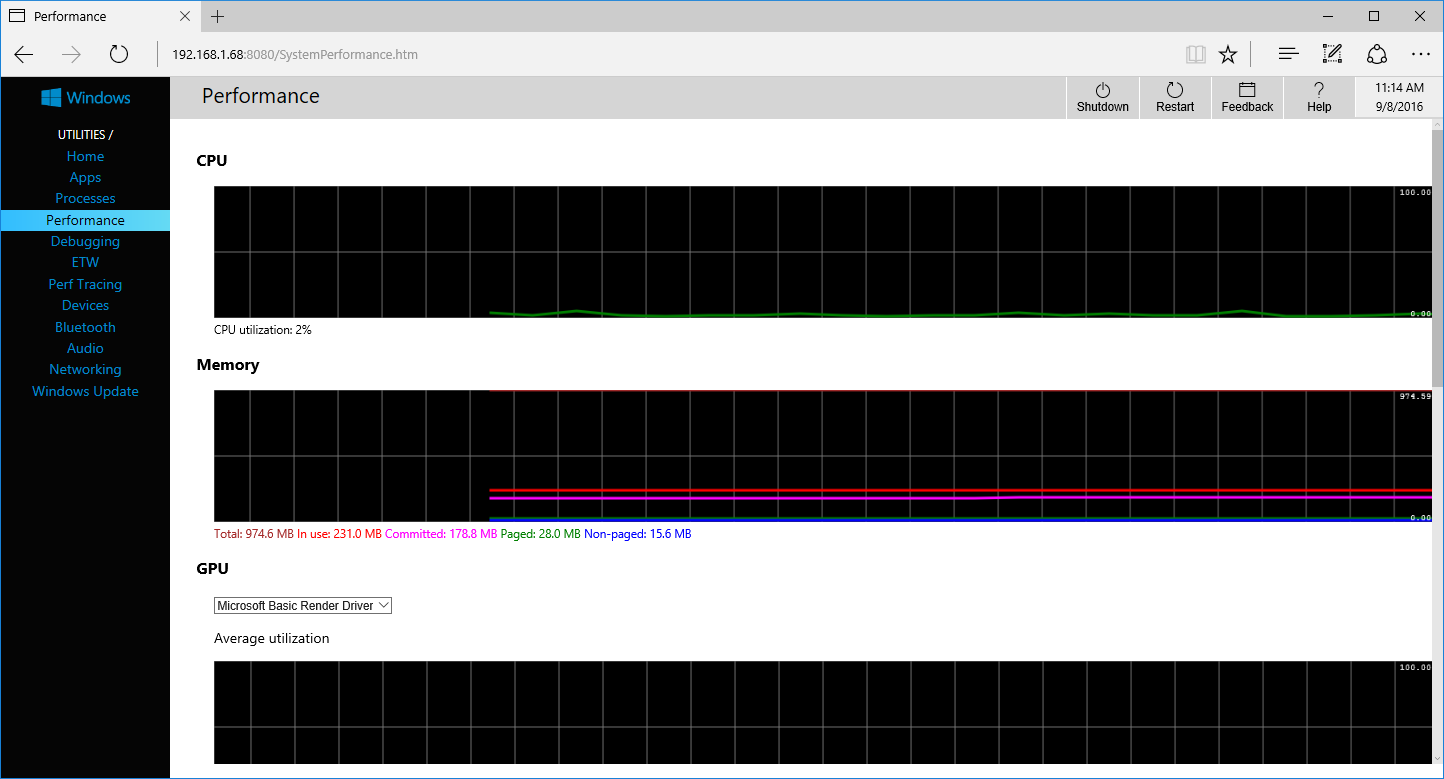
It can also act as a launch pad into the Device Portal which is a web application that is hosted on your device running Windows IoT Core. You can access this portal by going to http://192.168.1.68:8080. Just swap out my IP Address for your device’s. The administrator password by default is ‘p@ssw0rd’. Naturally, it’s a really good idea to change this the first time you login.
The Device Portal is actually pretty useful. It gives you a lot of information about what is going on with your device. I particularly like the Performance tab where you can see live resource usage like CPU and memory.
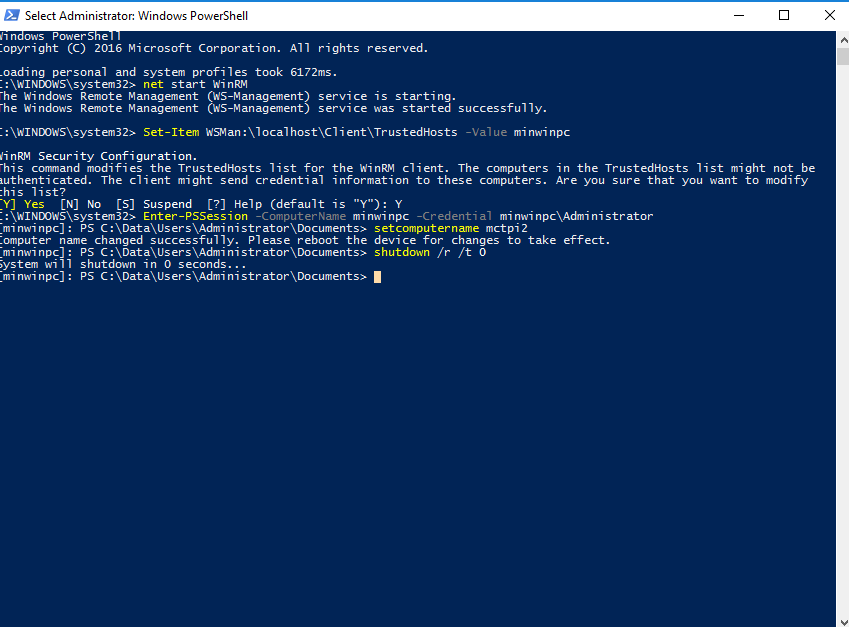
After doing this I connected to my device using PowerShell (make sure to run as administrator). The name for my Raspberry Pi 2 was once ‘minwinpc’. I changed the computer name to ‘mctpi2’ just for kicks. There were just a handful of commands needed to do this and most of them are probably one time things.
-
“net start WinRM”
-
“Set-Item WSMan:localhostClientTrustedHosts -Value minwinpc”
-
“Enter-PSSession -ComputerName minwinpc -Credential minwinpcAdministrator”
-
“setcomputername mctpi2”
-
“shutdown /r /t 0”
All setup.
Now within Visual Studio I can easily find my Raspberry Pi 2 using the handle ‘mctpi2’. You can right click on your project and go to the “Debug” tab. There you will see under the “Start Options” are place where you can select “Remote Machine” and then select the target remote machine. Cake.
I grabbed the code from Microsoft here. Extracted it somewhere pleasant and then launched the “Blinky.sln”. I found it interesting that the project had XAML files in it as if the project was supposed to have a user interface or something.
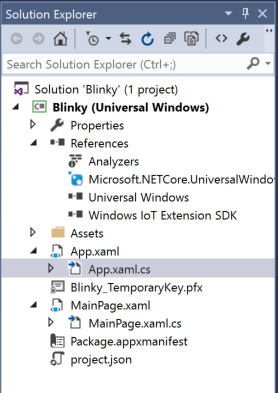
The project structure should be familiar to anybody with WPF, Silverlight, Windows Store or UWP development experience. All the code is in the code-behind for the MainPage.xaml file.
There is some basic C# code for detecting if the GPIO exists or not. This is kind of like feature detection when writing cross device code (which is very common on Windows UWP).
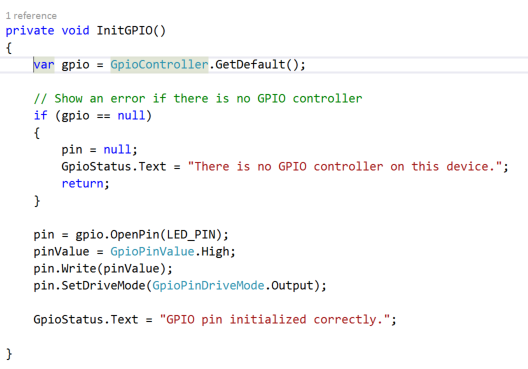
I setup my Raspberry Pi as recommended for the Blinky example and it worked brilliantly!