Setup Office 365 Custom Domain with CloudFlare Terraform Provider
After you have your office 365 account setup you will have a bunch of wizards to help you finish the configuration of your environment.
You just need to go to the Microsoft 365 Admin Center.
https://admin.microsoft.com/
From there you will be greeted.
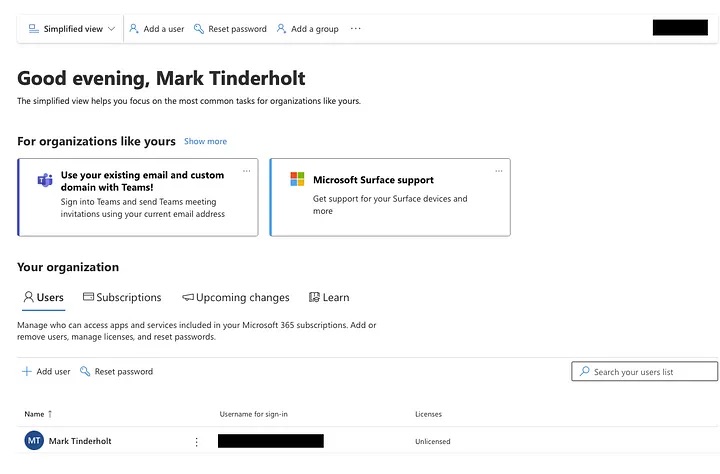
On the left hand side you should set a “Setup” menu option. This will give you that checklist of all the typical things an M365 Administrator would need to setup.
Today, I’m going to be focusing on the item called “Get your custom domain set up”.
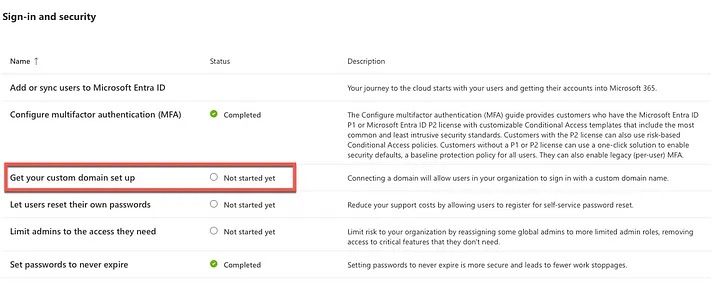
Click on it.
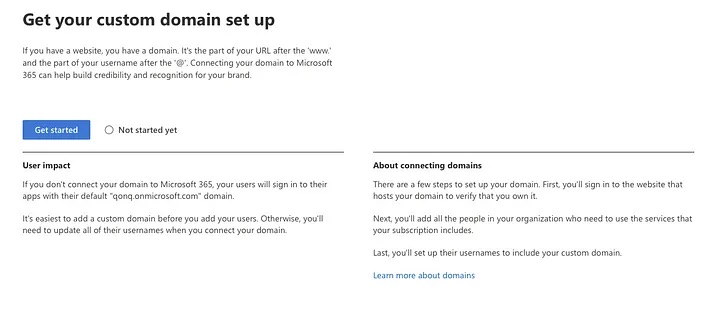
Click “Get Started”.
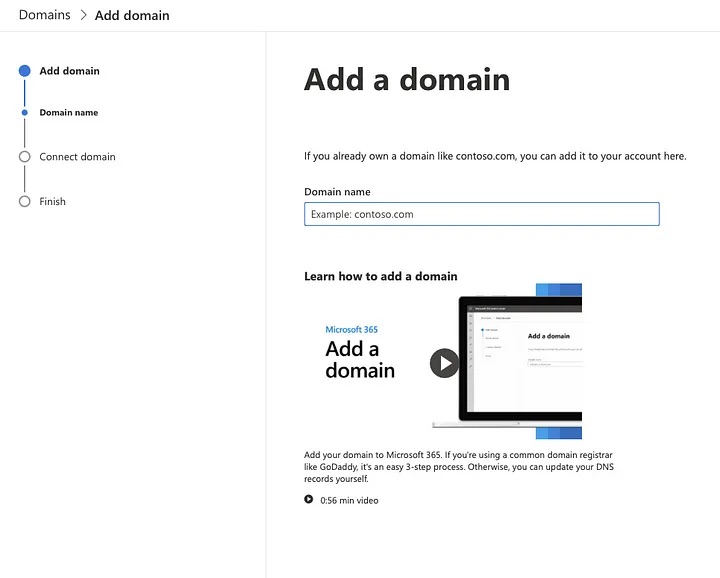
Type in your domain name and click “Use this domain” down at the bottom of the page. Now, if you’re like me and you are using CloudFlare they will be smart enough to notice that CloudFlare is the domain registrar and recommend you go through the “Sign in to Cloudflare” option.
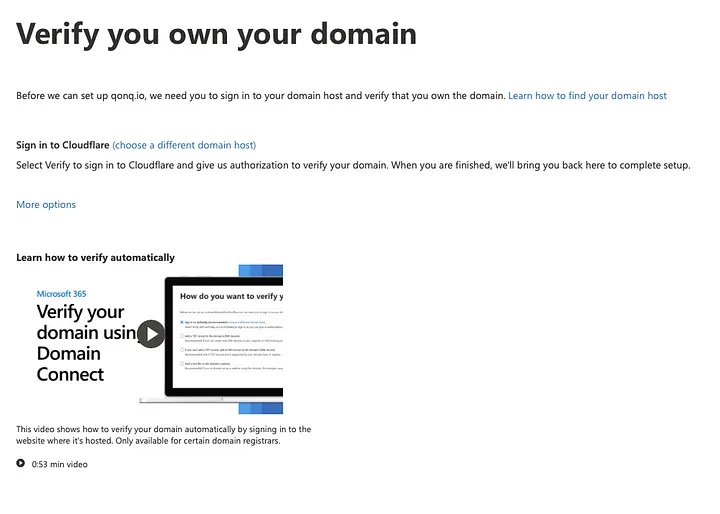
However, I wanna do things the old fashioned way, so let’s check out the other options:
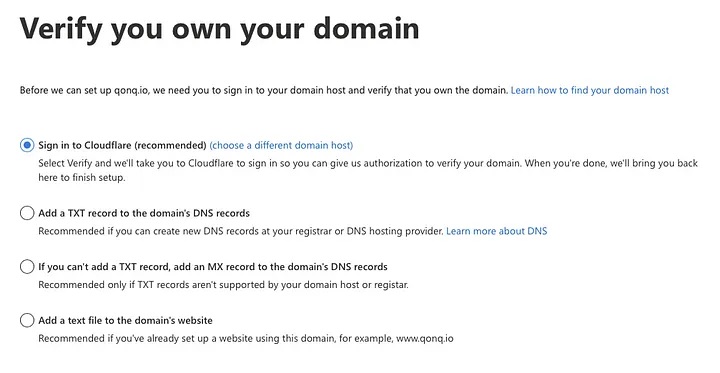
There we go. I want to add a TXT record to the domain’s DNS records.
Use Terraform to add the TXT Record Remember we had a reference to our DNS Zone already setup as a data source.
data "cloudflare_zone" "main" {
  name = "qonq.io"
}
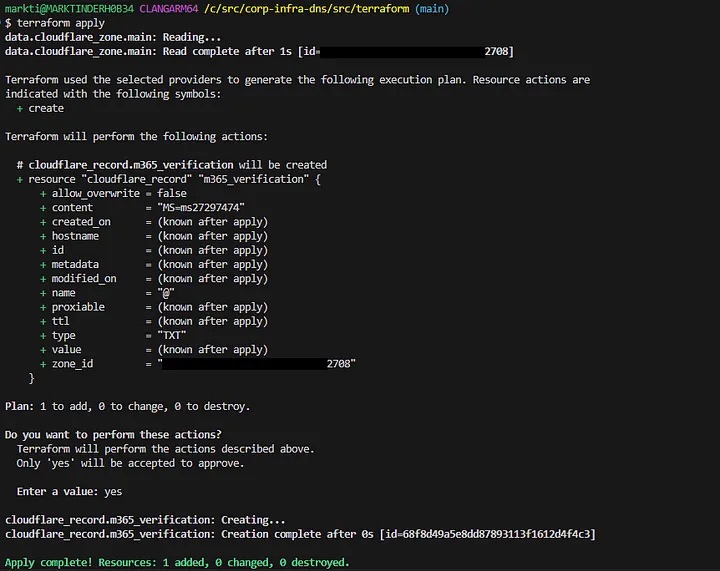
Now we just need to add a cloudflare_record resource. Be careful not to be distracted by the cloudflare_dns_record resource — this is from the 5.x alpha.
resource "cloudflare_record" "m365_verification" {
  zone_id = data.cloudflare_zone.main.id
  name    = "@"
  content = "MS=ms27297474"
  type    = "TXT"
}
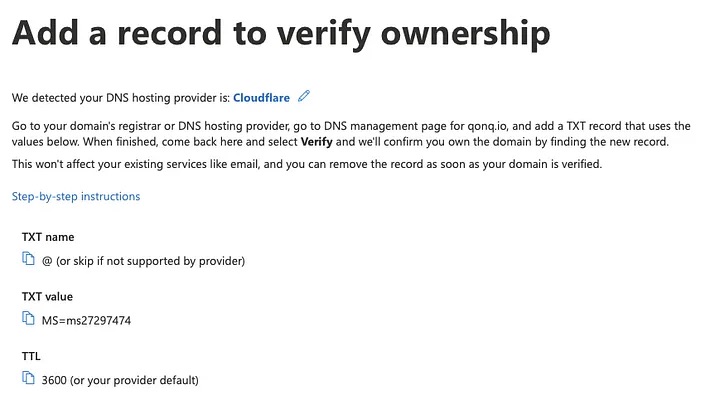
We need to make sure that all the values Microsoft 365 is providing us line up.
Now all we have to do is click the finish button.
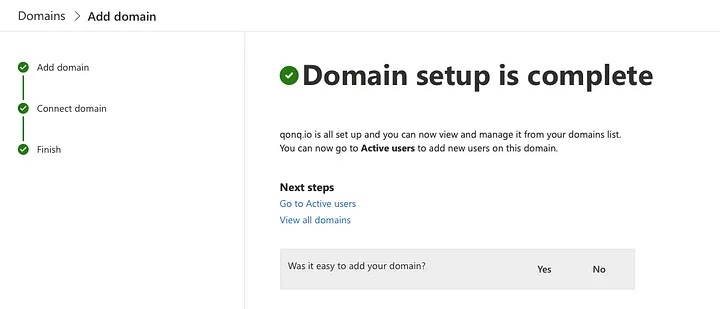
That’s it! Wasn’t that fun?!?