Setting up and Managing Azure Active Directory B2C: The Complete Guide to Azure Portal Weirdness
So I’ve been working a lot with Azure Active Directory B2C recently and thought I would jot down some of the idiosyncrasies I’ve found while using the Azure Portal. The implementation leaves much to be desired and can be very jarring and seem disjointed to new users.
I’ll focus on a few of the common tasks:
Create Azure Active Directory Tenant Link Tenant to your current Azure Subscription Finding an existing B2C Tenant in the Azure Portal Accessing your B2C Tenant
Let’s begin…
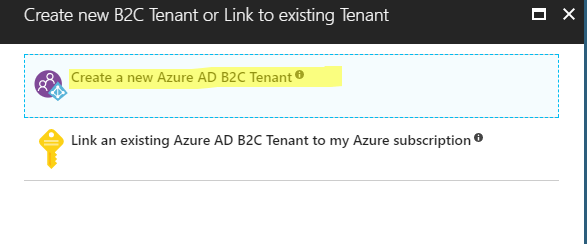
1. Create Azure Active Directory Tenant
This is the easy part.
Interestingly, when creating a new Azure Active Directory B2C tenant there are no acronyms, you’ll find the user experience is a bit different after you’ve created one. This can be a bit frustrating / annoying.
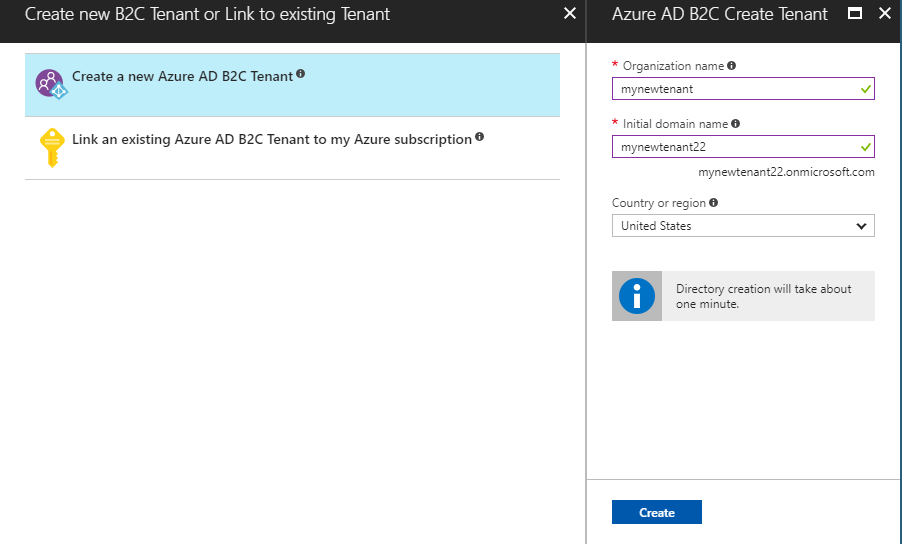
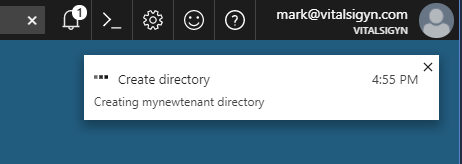
This will take a few minutes.
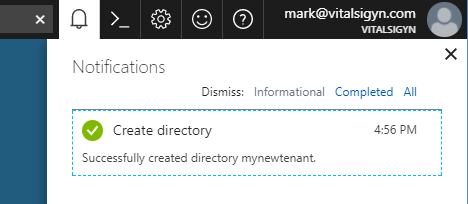
Once its done you can move on to step 2.
2. Link Tenant to your current Azure Subscription
This is where the weirdness begins.
It’s important to note that the actual tenant has been created but outside of this subscription. Since Azure Active Directories are special resources that transcend an Azure Subscription unlike virtually every other Azure Resource what you are essentially doing is creating a pointer resource in your subscription that points to the B2C tenant. This contributes to most of the Azure Portal weirdness that you will encounter.
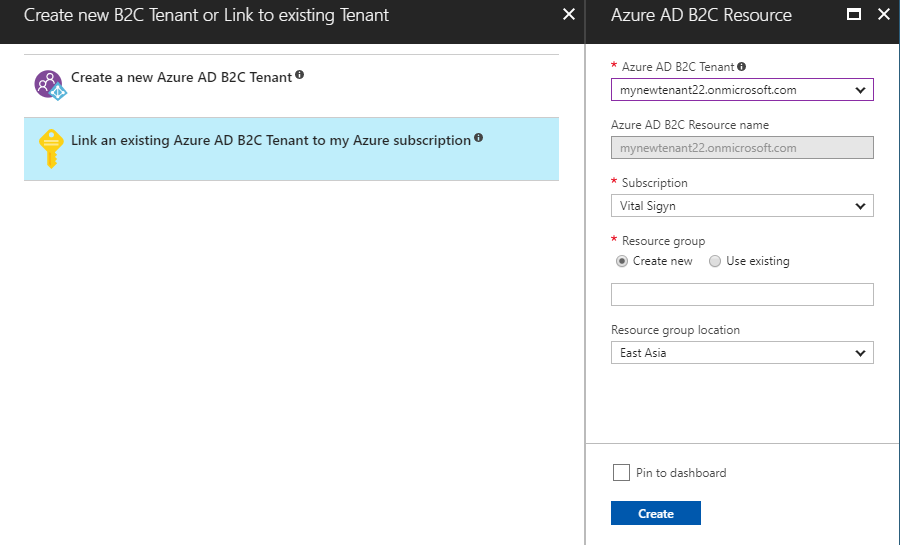
Select it from the drop down.
Select a resource group (or create a new one) that you want the B2C tenant link to be created within.
3. Finding an existing B2C Tenant in the Azure Portal
You would think this would be easy, right? But there are actually a number of inconsistencies in the current Azure Portal that make this simple task, well, weird. Quirky if you will.
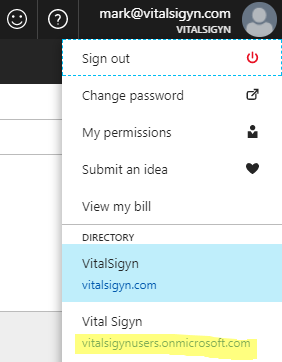
Your newly linked tenant will show up under your Azure Portal Profile in the upper right hand corner of the Azure Portal. You will need to switch over to that Directory when you use it.
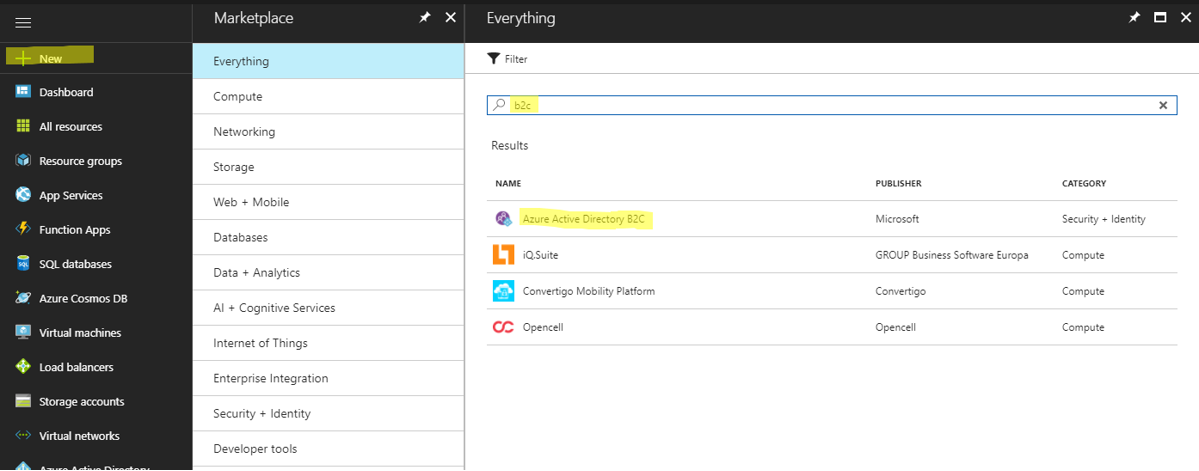
A link is maintained in your existing Subscription’s portal. You can find the link by search for “Azure AD B2C”.
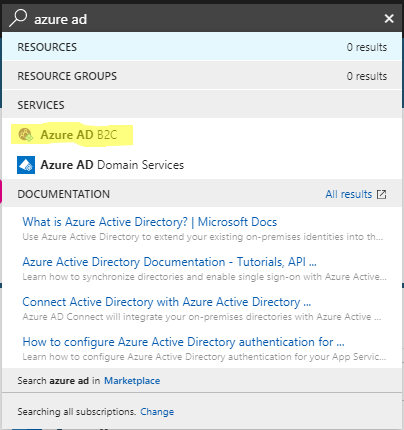
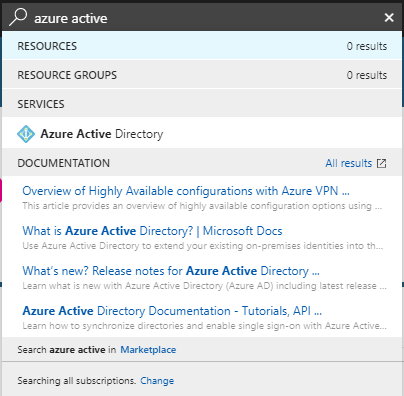
Not sure why they call it with the acronym when Azure Active Directory does not use the acronym. This can be a bit jarring as you won’t find actual Azure AD if you search for “Azure AD”. Only when you search for “Azure Active…” will you find it.
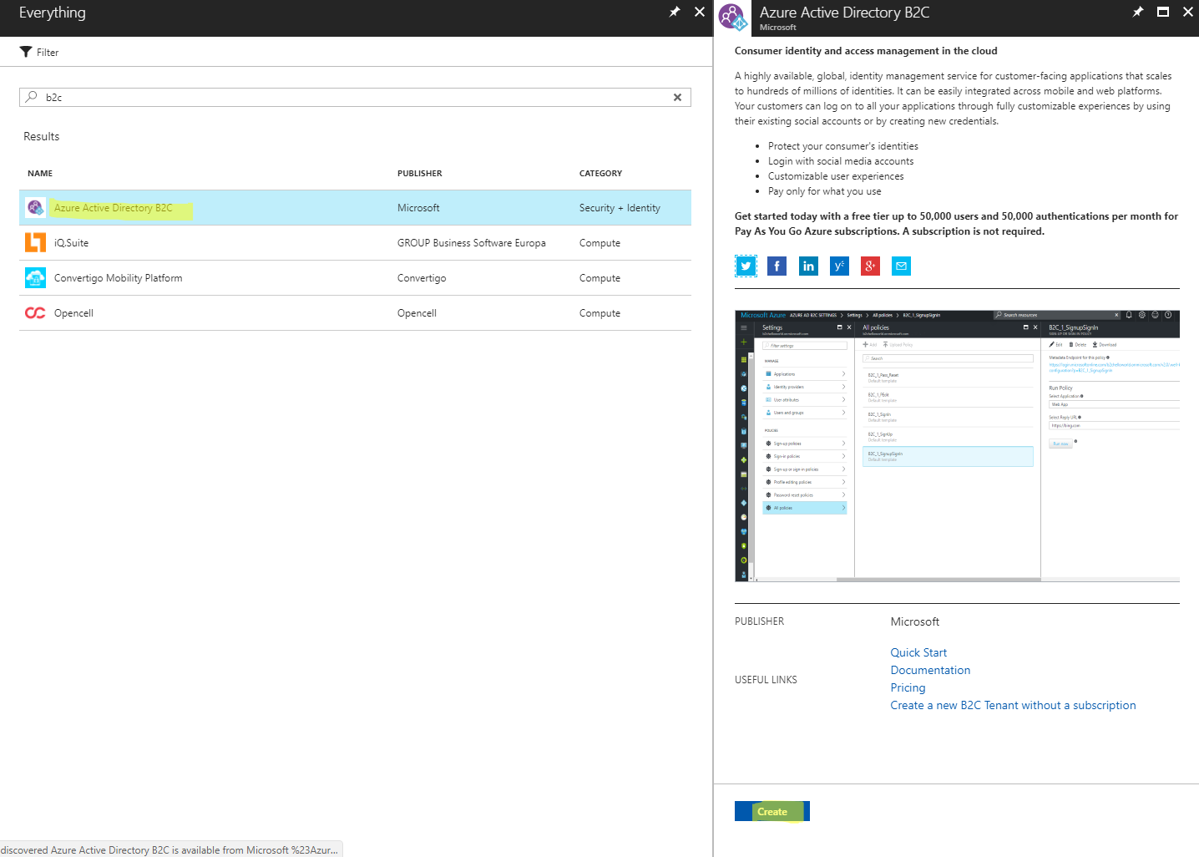
However, searching for the Azure AD B2C service is not super useful. Rather than displaying a list of ‘linked’ B2C tenants like one might expect, it takes you to the super useful Azure Active Directory B2C management screen:
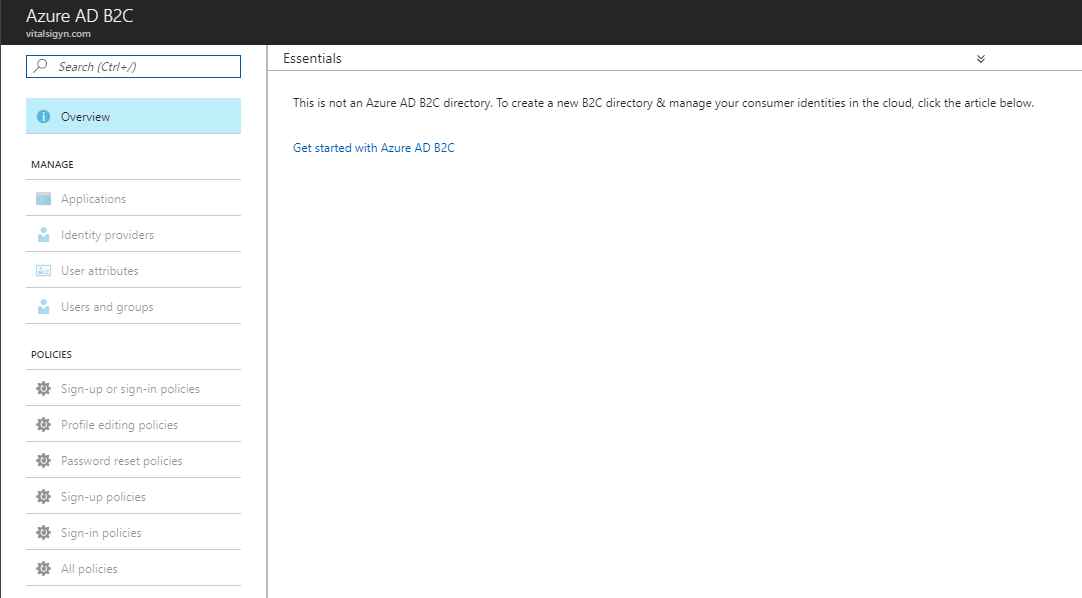
Except, it’s not super useful when you aren’t viewing the Azure Portal within the context of an Azure Active Directory B2C tenant.
In order to actually find your B2C tenants you’ll need to search for the tenant name and it will show under the ‘resources’
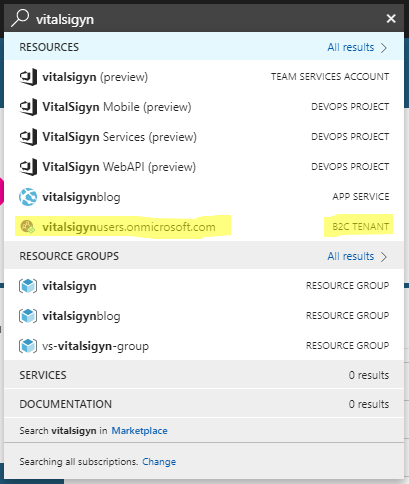
Searching for ‘B2C Tenant’ won’t produce any list views where you can see all your tenants. I haven’t found a way to view all ‘B2C Tenants’ in the Azure Portal but you can view them inside their respective Resource Groups.

4. Accessing your B2C Tenant
It’s important to note that your Azure B2C tenant has three administration areas.
First, the B2C link management screen.

This is accessible from the Azure Subscription that you linked and nowhere else. This provides some basic diagnostic and logging information but virtually no configuration is done here. This screen is so useless, its primary function is to surface a big, giant button to take you to the actual place where you want to go, the B2C special feature management screen.
Second, the B2C special feature management screen.
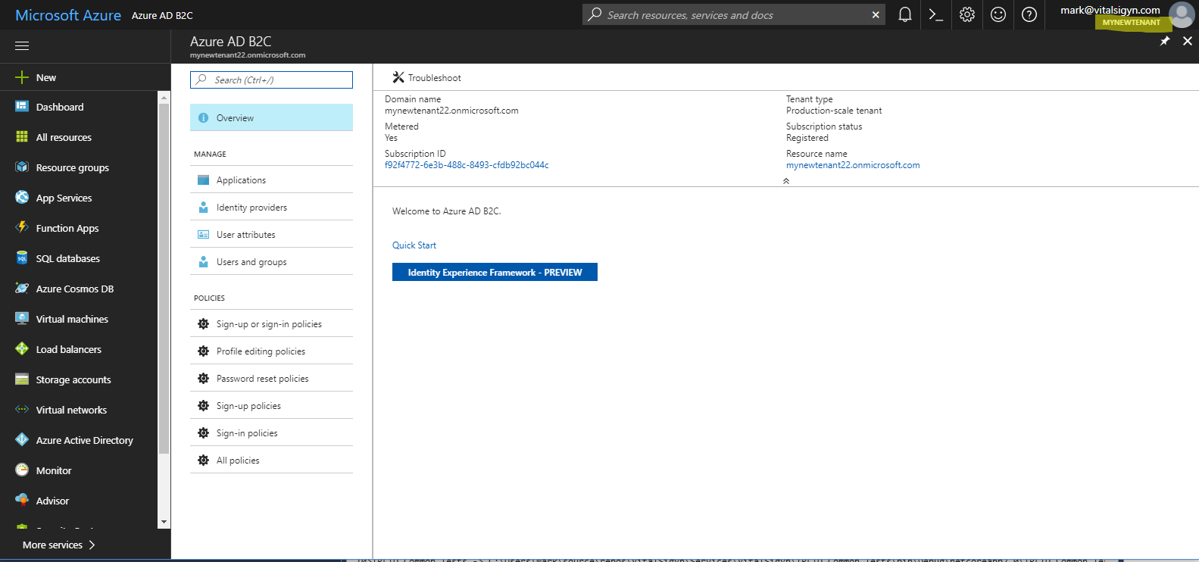
Once you click that giant button from the B2C link management screen a new browser window will pop up and the following things will happen. First you will be taken to a new instance of the Azure Portal, second the selected Active Directory will switch to the Azure AD B2C Tenant. This is basically a new Azure Portal just for this Azure Active Directory instance. If you start looking around for your other services, VMs, App Services, etc. You won’t find them because you literally left your actual Azure Portal to come to this one within a totally different context dedicated to your Azure AD B2C tenant. Weird, right?
This screen is where you can configure your Identity Providers like Microsoft Account, Google Account, etc and all things related to user management. It is super important to note that this is a subset of functionality available to your Azure Active Directory B2C Tenant. In fact, an extremely small subset! Literally this is only the “B2C” part of your Azure Active Directory B2C tenant.
Third, the standard Azure Active Directory management screen.
In order to access the rest you need to search for “Azure Active Directory” within the context of your new tenant as the Directory.

Because the Azure Portal has basically a modal context of Azure Active Directory, the Azure Active Directory service is special in that instead of taking you to a list of all the resources of that type within the current subscription like it usually does for any other resource type, clicking it will take you to the Azure Active Directory Management Screen for the in-context tenant.
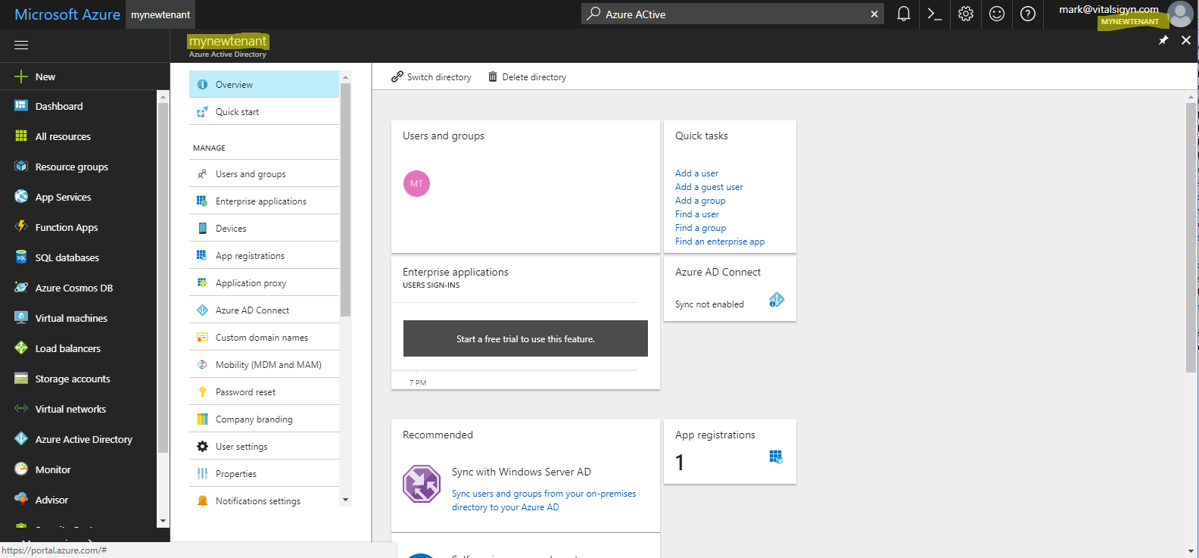
This is where you need to setup / configure App Registration. It’s important not to confuse this with the “Applications” section under the B2C special feature management screen. They are separate and different and most of the time you will want to use App Registrations here.